Your roof is the silent protector of your home. While it’s necessary for your safety and comfort, it often goes ignored until there’s a problem. So, if you’ve noticed leaks or drafts, you might be wondering if it’s time for a new roof.
Keep reading to discover everything you need to know about the roof replacement process. With over 30 years of experience as professional roofing contractors, we replace roofs with quality materials; reach out to us today.
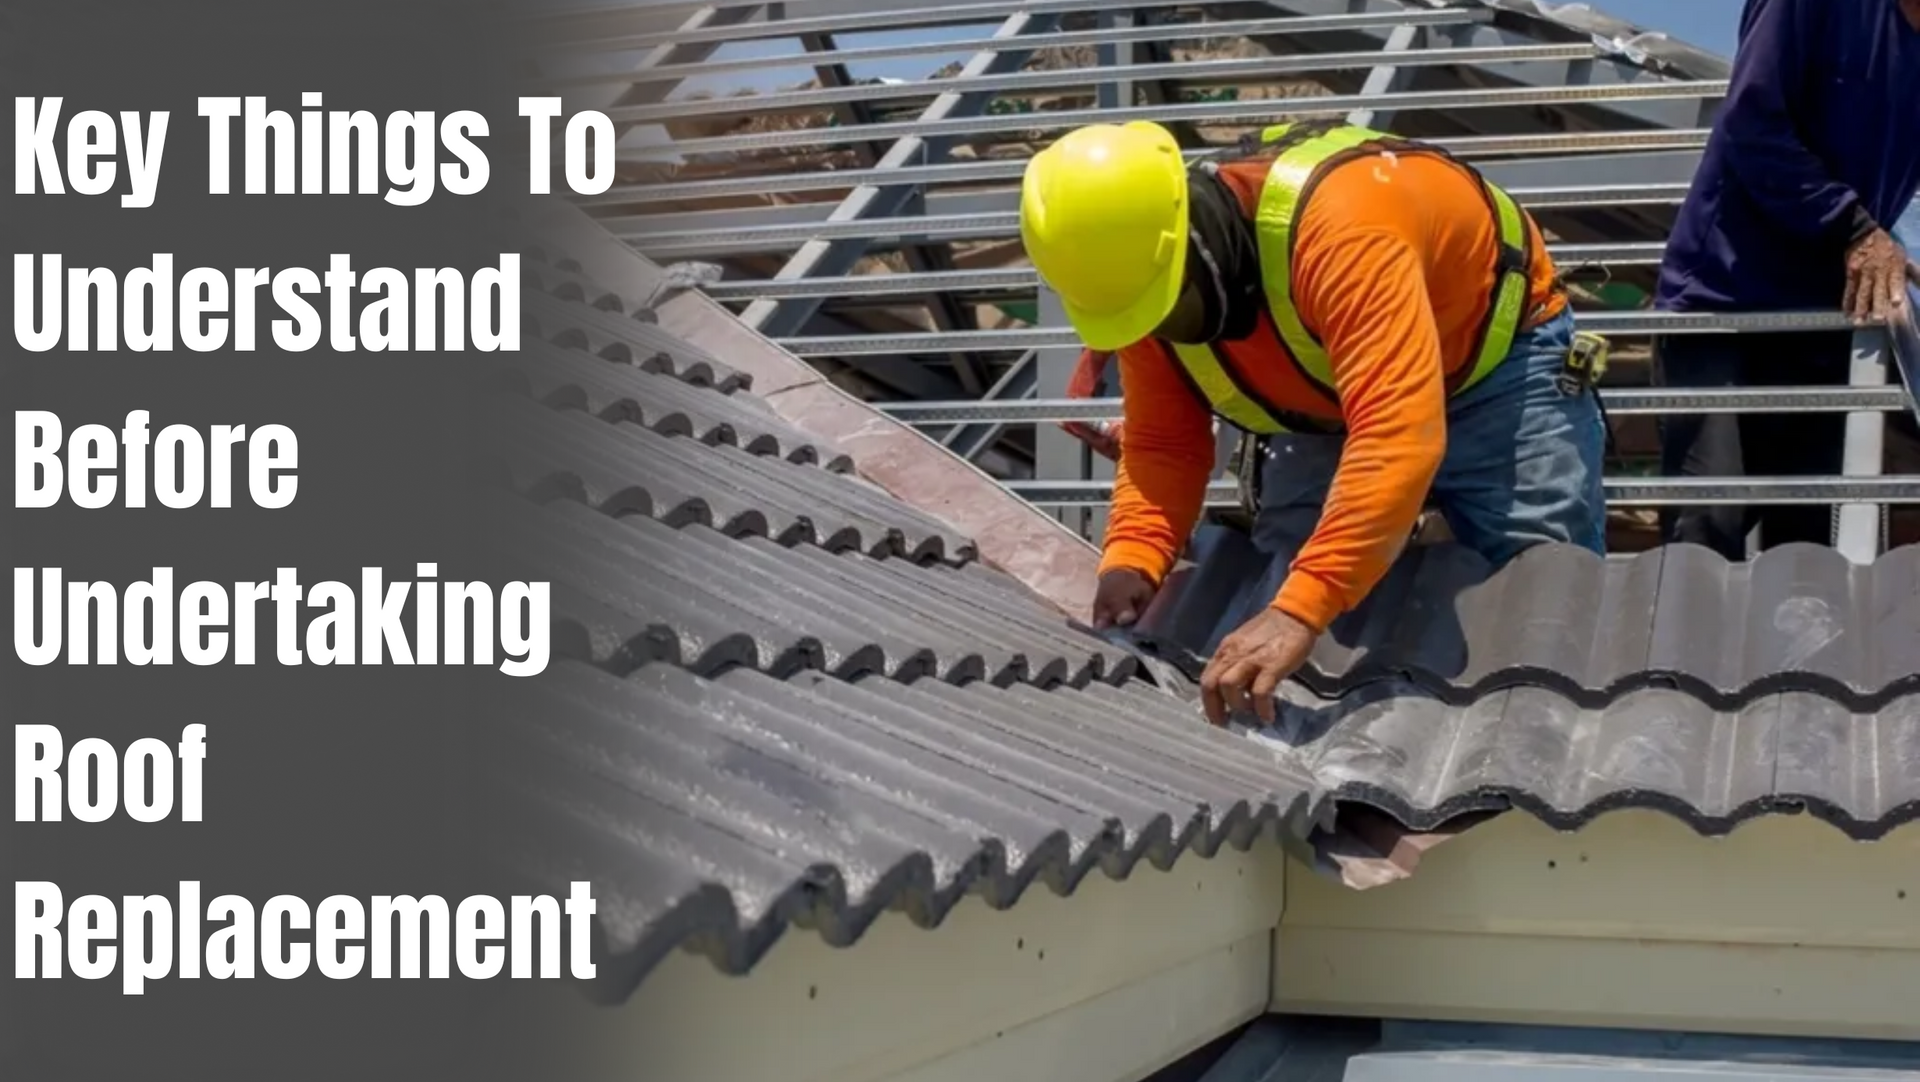
What Is Roof Replacement?
Your roof has various layers of structural support, weatherproofing, and other barriers that keep your home protected from the elements. While professional roofers can repair minor damage, if your roof is old or has serious problems, you’ll need to completely replace it. If you’ve layered over your roof with shingles more than once, the roof replacement procedure requires tearing them all up and laying a completely new roof.
Signs You Need a New Roof
How do you know you’re ready for the roof replacement process? Look for these most common signs you need a completely new roof.
Age of the Roof
Roofs last between 20 and 50 years, depending on the type of material you chose and how well you’ve maintained them, but 20 years is common. With an annual roof inspection, you can keep track of your roof’s health and determine its remaining life expectancy. If the contractor believes it’s near the end of its life, start preparing for a new roof.
Significant Damage
Because your roof’s purpose is to protect you from the elements, it can rapidly suffer wear and tear. If you notice significant shingle damage, such as cracks, tears, or missing patches, you might get away with a simple repair, but if the damage is widespread, you’ll require complete replacement.
Structural Issues
Your roof requires a network of beams, struts, and joists for support. If your roof feels bouncy or saggy, it indicates significant structural damage that won’t improve with simple repairs. In the process of replacing a roof, your contractors can replace any structural elements, making it like new.
Evidence of Holes
If your roof doesn’t keep out water or sunlight, it’s not performing its most basic function. If you notice spots of sunlight peeking through your attic or see evidence of water damage or leaks, you’ll need a completely new roof.
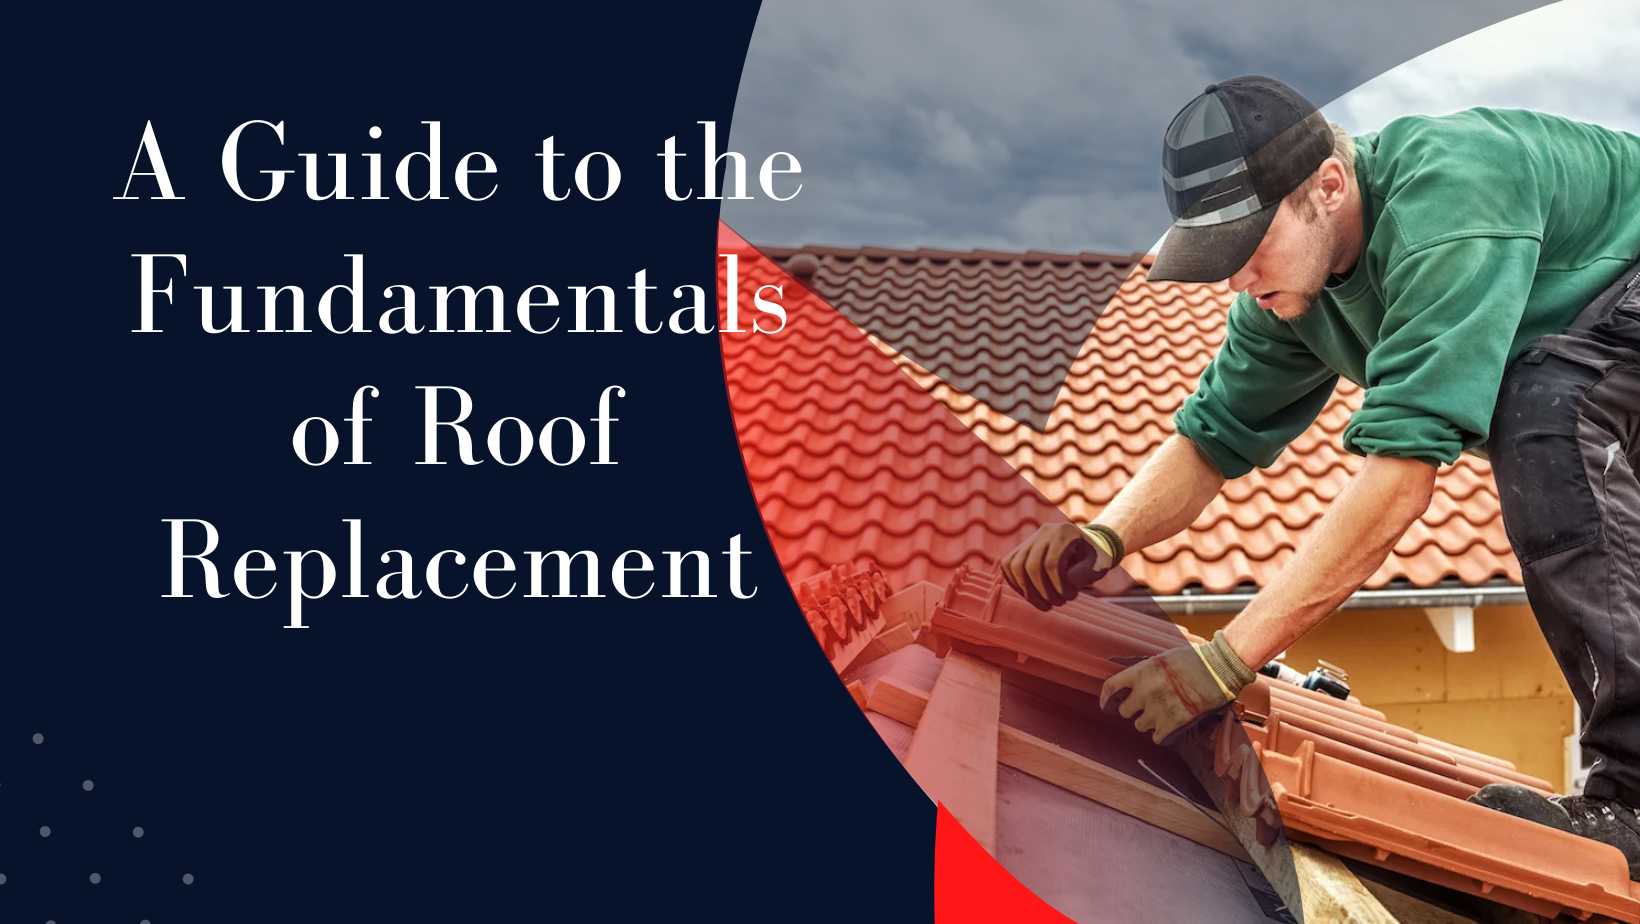
10 Steps of Roof Replacement
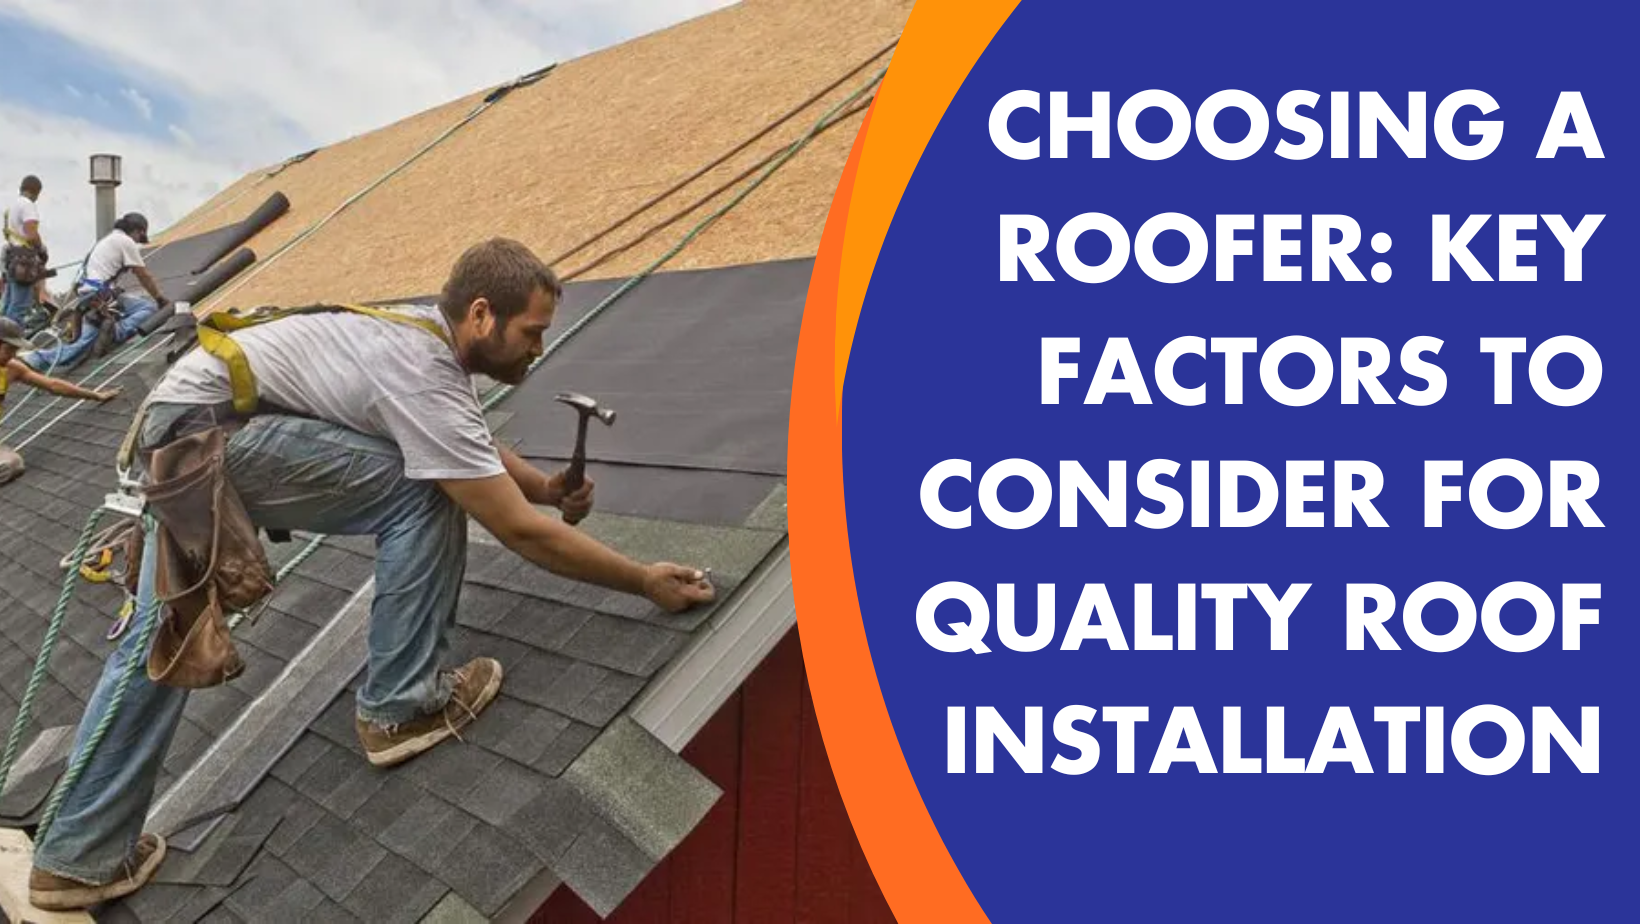
Are you wondering how to replace a roof? Don’t risk your safety or your property by doing the job yourself. You’ll likely need to hire a professional anyway and end up spending more. When you work with a professional roofing contractor, they’ll use the following step-by-step roof replacement procedure. Explore this comprehensive roofing replacement guide to understand the process and make informed decisions about your roofing project.
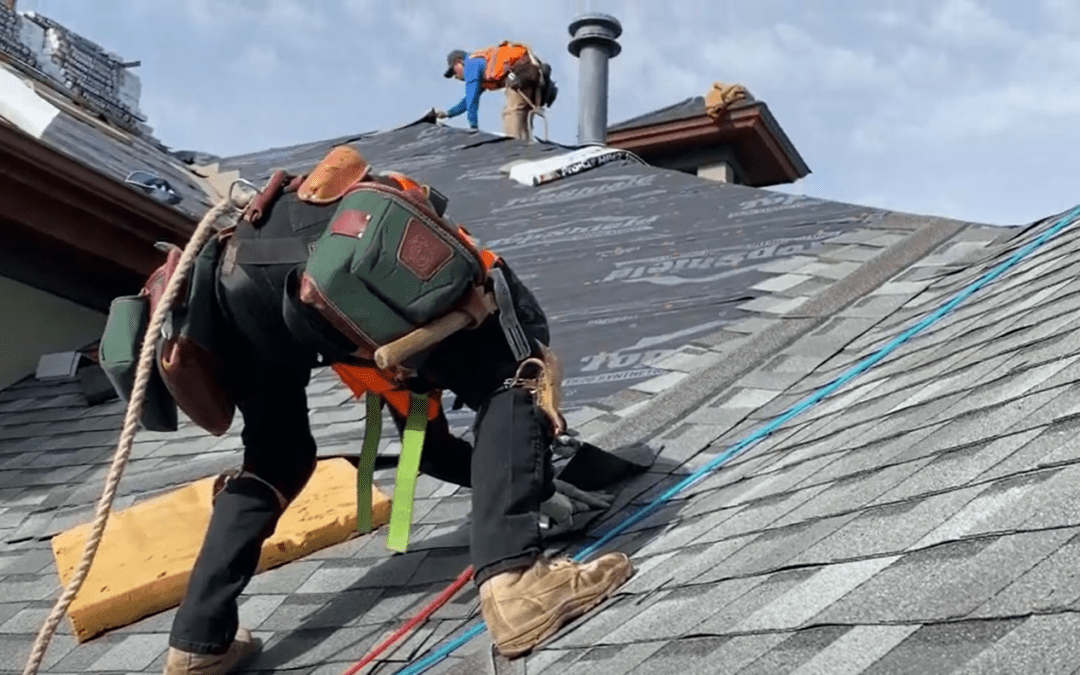
1. Inspect the Roof
Before we can determine how much work your roof requires, we’ll do an initial inspection. We examine everything, from each layer of shingles to the roof decking. Once we’ve learned the size and condition of your roof, we devise a plan to give you a new one.
2. Remove the Old Roof
Is removing the old roof really necessary? If your roof doesn’t have structural damage, mold, or rot, you might save time and money by adding a second layer of shingles to cover the damage.
However, new shingles won’t fix structural damage or rot that can spread to the rest of your roof. Another issue with too many layers of shingles is the added weight, which can damage your structure further. Our professional roofing contractors can help you determine whether they’ll need to completely remove the old roof before installing a new one.
3. Make Repairs
If you need structural repairs, such as replacing rotting roof decking or framing, your roofing contractors must fix them before doing anything else. Structural issues are common in old roofs, but we can restore your roof’s foundation to help last for decades to come.
4. Add a Drip Edge
A drip edge is a strip of metal that lines the perimeter of your roof and protects it from more direct water damage. Without the drip edge, water slips behind your gutters, rotting your fascia (the horizontal strip of wood underneath your roof) and other structural elements of your roof.
Our roofing contractors can install drip edges of various shapes and materials, but the following substances remain the most common:
- Aluminum: Aluminum is durable, resistant to corrosion, and easy to shape. Another reason it remains popular is because you can paint it to match the color of your roof so it doesn’t stand out. It’s an excellent choice for a coastal home because it stands up to heavy salt content.
- Galvanized steel: Coated with a layer of zinc, galvanized steel provides incredible durability and resistance to corrosion and rust. Roofers prefer to use it in highly humid or moist environments.
- Copper: Copper provides a unique look as it develops a patina over time, creating a charming “old world” look. It’s also incredibly durable and long-lasting.
- Vinyl: Vinyl is the most cost-effective option for a drip edge; you can choose from several shades to compliment the color of your roof.
5. Install the Barriers
The roof replacement process often requires installing barriers against ice and water. While southern homes might skip this step, in places with harsh winters, such as Connecticut, many building codes require them.
An ice and water barrier sits between your wood sheathing and your layer of shingles, and it helps prevent ice and snow dams from building up and causing severe damage to your roof. Section R905.1.2 of the Connecticut State Building Code outlines what conditions require these barriers, but regardless of code, they’re always a good idea on the North Atlantic coast.
6. Lay the Paper
With the roof’s underlying structure in place, the contractors can lay the roofing paper that adds another layer of protection against moisture. They nail or staple the paper every 12 inches to ensure it lasts and provides maximum protection.
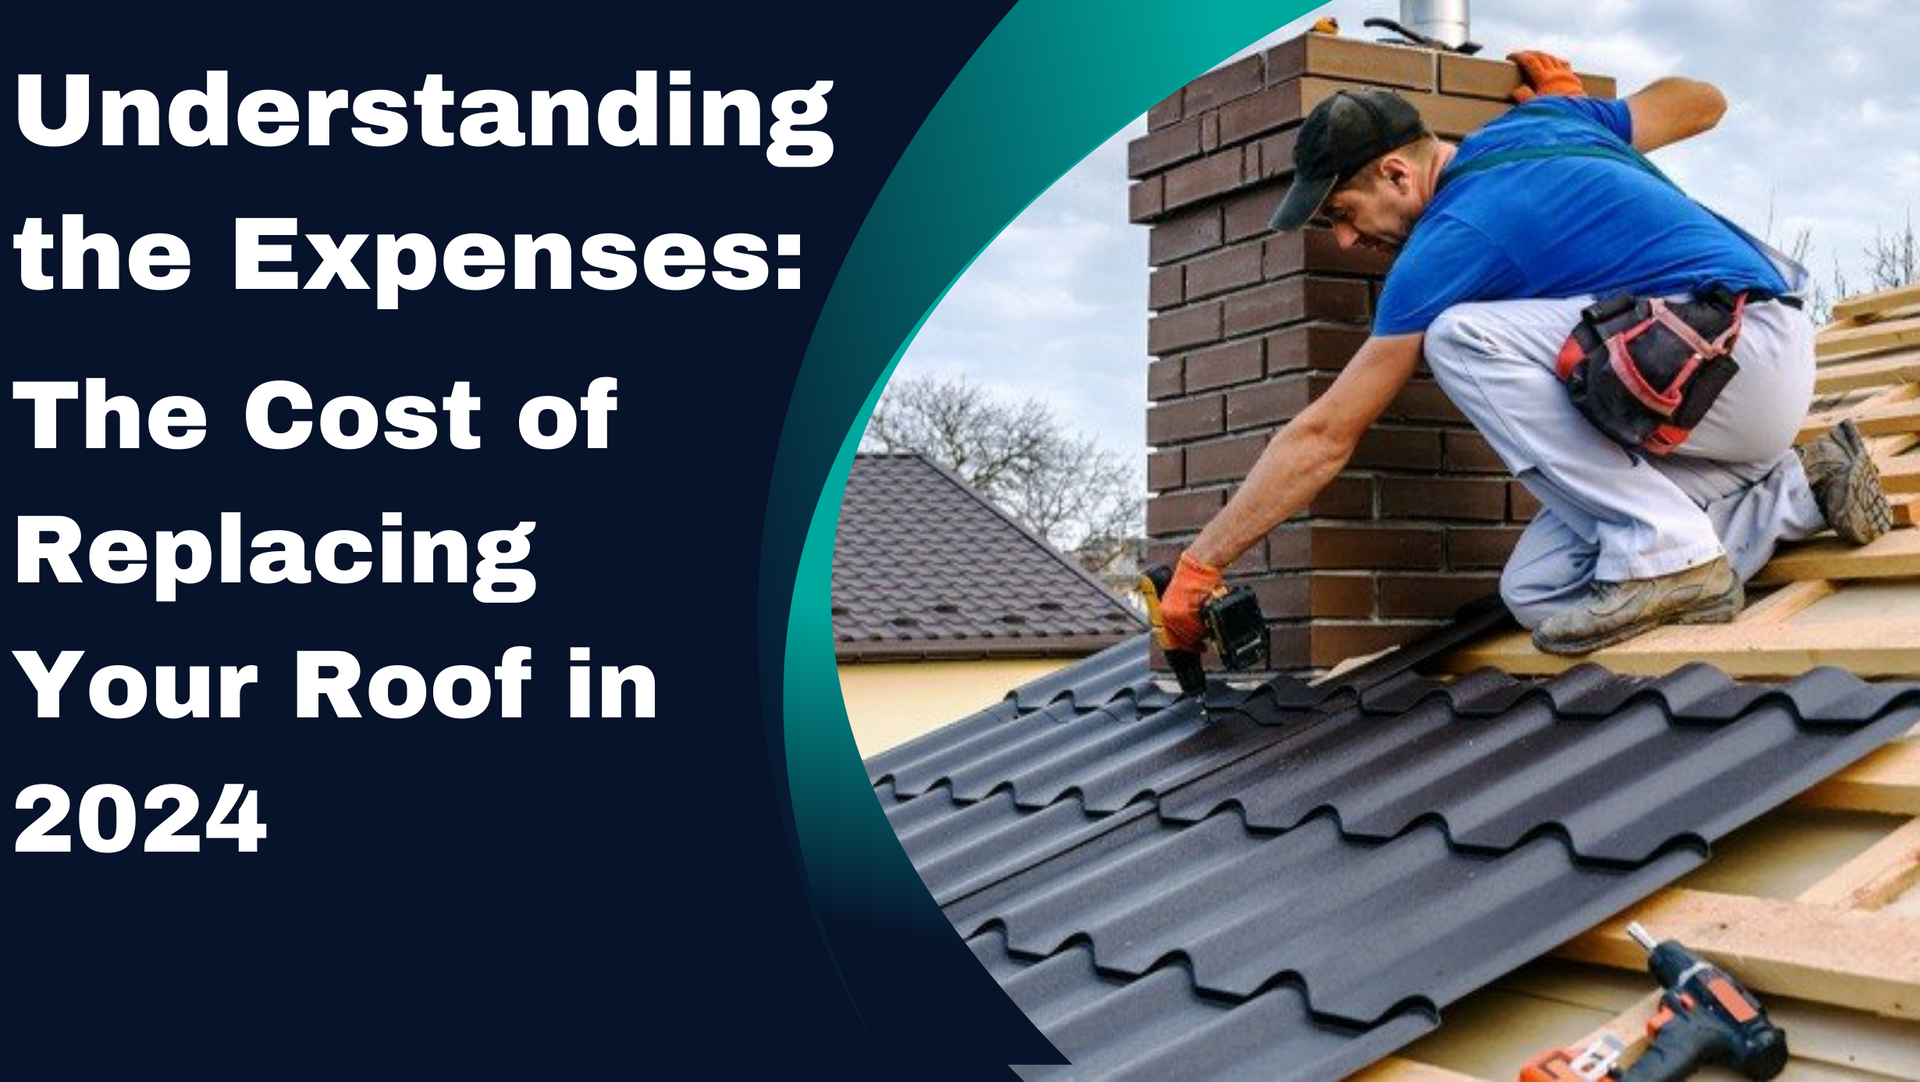
7. Incorporate Flashing
Flashing is any strip of material around the edges or vertical joints of a roof, such as your chimney, which prevents water from building up and rotting the roof. While the drip edge is a type of flashing, your roof needs additional protection around its most vulnerable areas.
Our roofing contracts identify the most vulnerable points in your roof, such as valleys or around your vent stack, to install metal flashings. We then caulk them to provide maximum durability and leak protection.
8. Add Shingles
Shingles are the most visible part of your roof and provide the first layer of protection against the environment. So, if you’re wondering how to change roof shingles, the best answer is to let a professional handle it. You can’t risk anything going wrong.
However, you still have some control over the type of shingles you choose. We find most people prefer one of the following options:
- Asphalt: An asphalt shingle roof is one of the most affordable options and can last 20 to 30 years. They require a medium level of maintenance and don’t offer much aesthetic customization.
- Wood shakes: Wooden shingles are comparable in price to asphalt shingles and last up to 40 years. However, they require higher maintenance costs. They’re environmentally friendly and durable, and many homeowners believe they look much better than traditional asphalt.
- Metal: Metal shingles offer a medium price-point solution, last up to 35 years, and require little maintenance. While they’re incredibly resistant to most environmental factors, they’re not a good choice for coastal homes.
- Slate: Slate shingles are among the most expensive options for shingles, but they can last upward of 100 years and require very little maintenance. They’re also incredibly resistant to nearly all environmental factors. In addition to their high upfront cost, they’re heavy (which means you can’t shingle over them) and require care while walking on them to prevent breakage.
9. Install the Ridge Vent
A contractor installs the ridge vent at the peak of your roof, and it works with your attic’s intake vents to improve airflow. It’s one necessary step to prevent ice dams.
10. Inspect and Clean Up
Once they complete the job, our contractors walk around the roof one last time and inspect every detail for quality. Once they’re satisfied, they clean up the work area and leave your exterior looking pristine and your roof looking new. Even if you choose someone else as your roofing contractor, make sure they complete this important step!
Get a Free Quote From A1 Home Improvement Roofing Experts
Now that you know all the nuances of the roof replacement process, you can find a quality roofing contractor that maintains quality throughout every step. Founded by second-generation roofers, A1 Home Improvement Roofing Experts provides the highest level of quality and service you’ll find in Connecticut. Ask us about our process, and we’re sure we’ll impress you.
For a free estimate or roof inspection in Hartford, New Haven, Middlesex, and New London Counties, fill out our online form or call 860-831-4259. Contact our professionals today